
Some bonus material for those of you who bought the book: illustrations which were not used. Press this button - Battle Maps - to see the maps specially prepared for the book but ultimately not included.
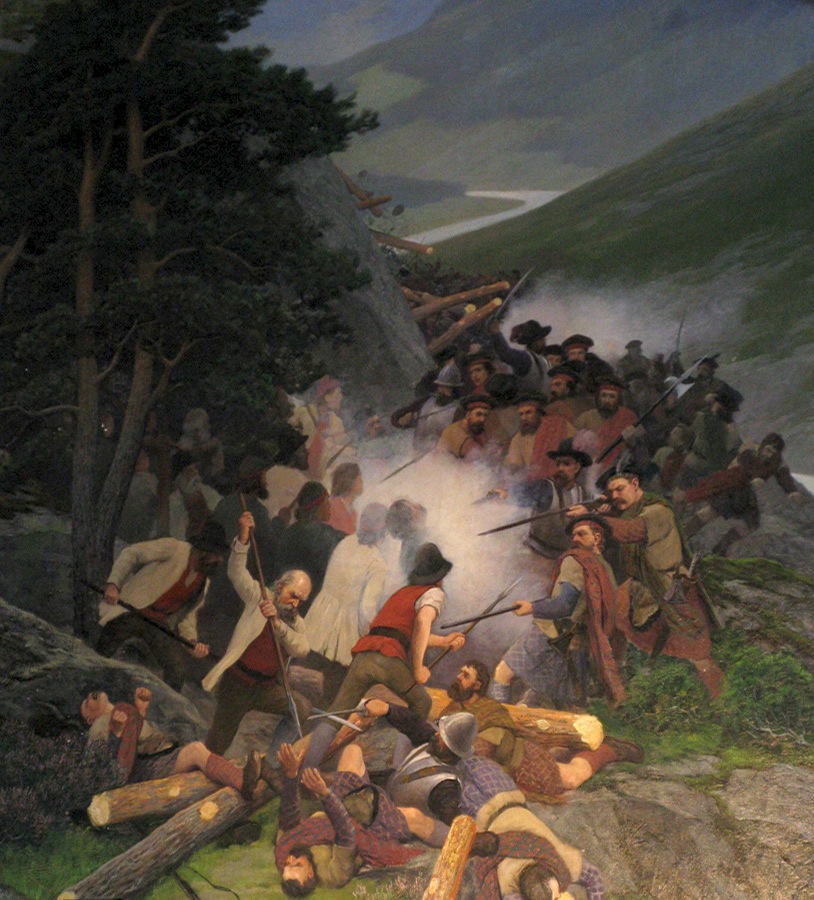
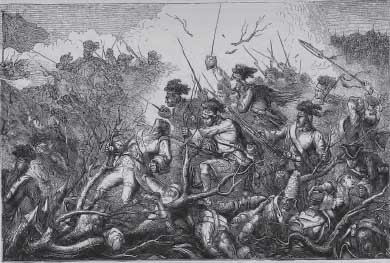
The Norwegians and Scots get to grips with each other in this perhaps
rather fanciful portrayal of the Battle of Kringen in 1612. Chapter 6.
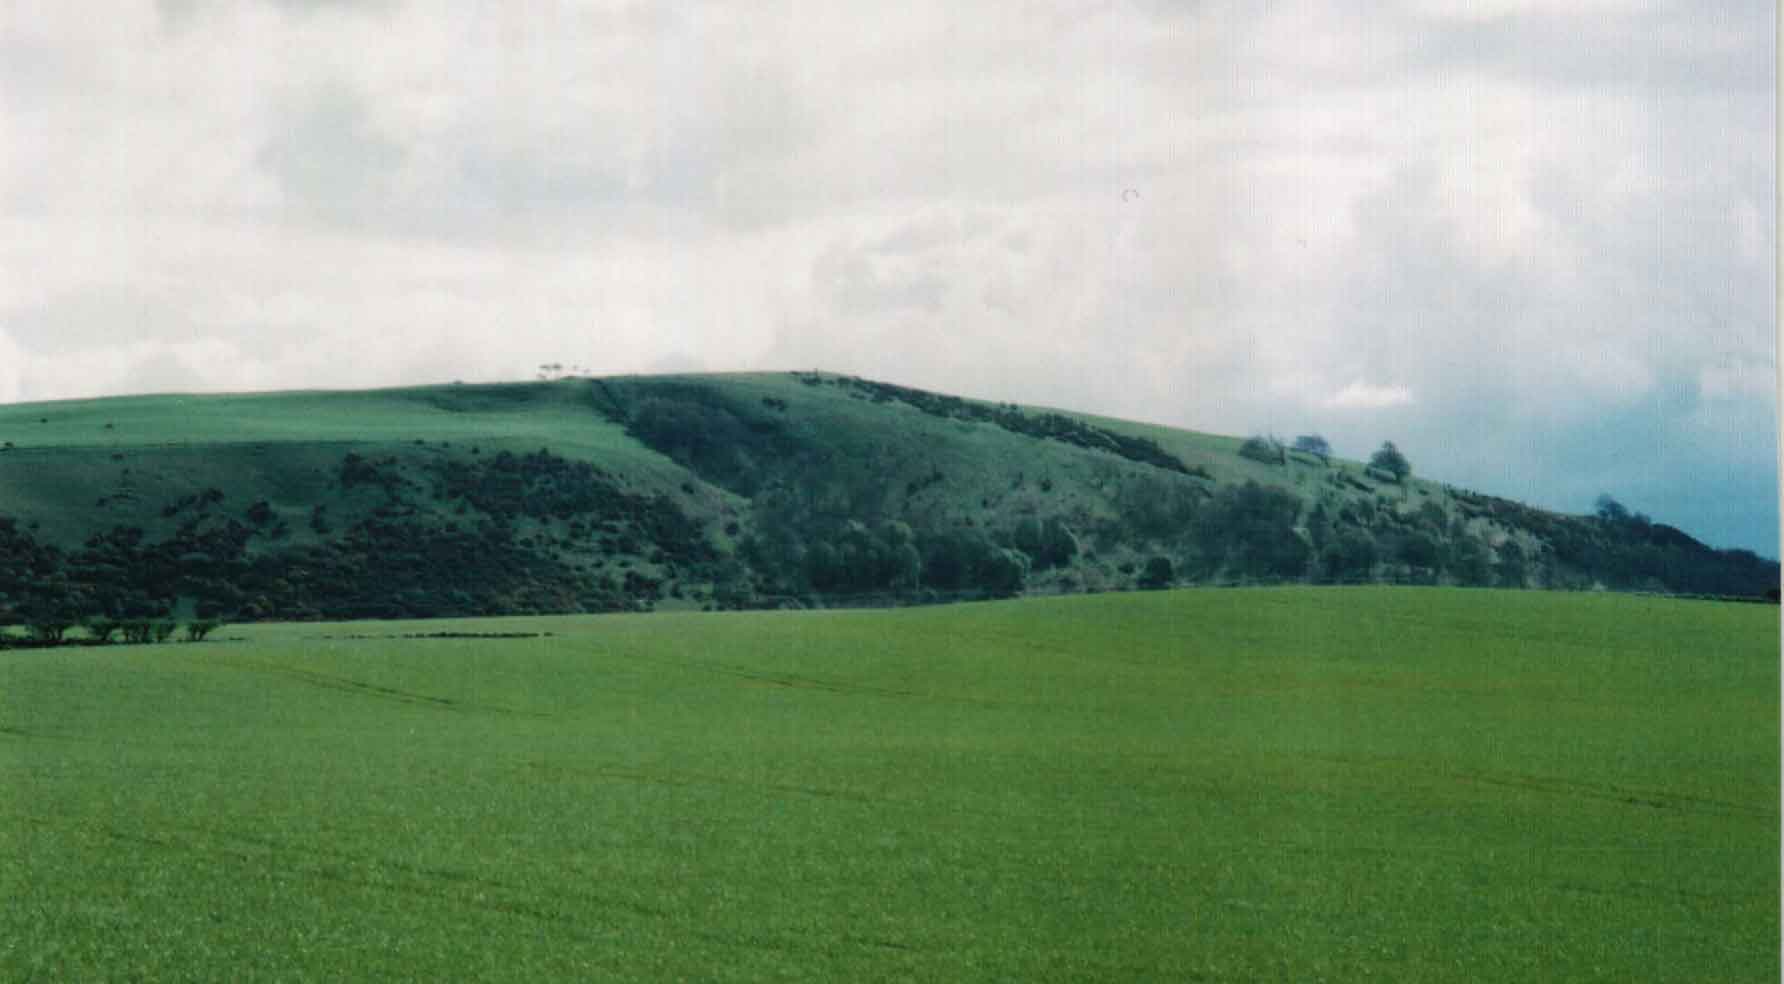
The Scots Army left a strong position on Doon Hill to fight and suffered a humiliating defeat at
the hands of the English under Oliver Cromwell in 1650. Chapter 7.

Around 3,000 Scots captured at Dunbar were imprisoned in Durham Cathedral. More than of them died in captivity and the survivors were sold into slavery or to the French Army.
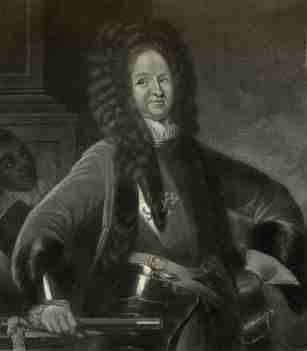
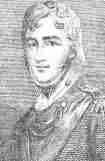
General Hugh Mackay commanded the Royalist troops routed by Highland Jacobites at Killicrankie in 1689. Lord Leven's Regiment, later the King's Own Scottish Borderers, were one of the few Royalist units not to disgrace themselves at the battle. Chapter 8.
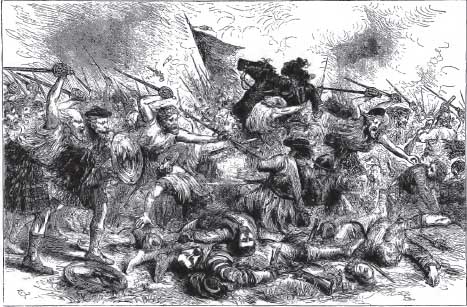
MacKay's troops under attack at Killiecrankie. Chapter 8.
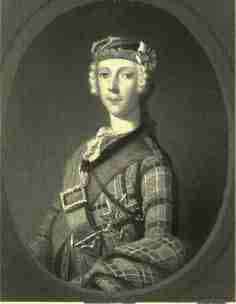
Charles Edward Stuart, better known as Bonnie Prince Charlie, led an army made up of Highland clansmen, Lowland sympathisers and Scots serving in the French Army to disaster at Culloden in 1746. Chapter 9.
The Black Watch fight their way towards the French positions at Ticonderoga in 1758. Chapter 11

Captain David Baird of the 73rd Highlanders survived the 1780 disaster at Pollilur and barbaric imprisonment afterwards and rose to the rank of General. The 73rd later became the 1st Highland Light Infantry. Chapter 14
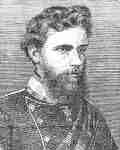
Lieutenant-Colonel Patrick MacLeod of the 78th Highlanders died with 162 other members of the regiment at El Hamet in Egypt in 1807. Chapter 17.
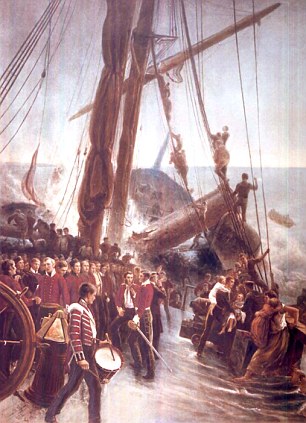
Soldiers from several regiments, including the 74th Highlanders, the 73rd Perthshire and the 91st Argyllshire, stood to attention while the women and children from sinking the troopship Birkenhead were safely loaded into the three available lifeboats off the South African coast in 1852. Around 450 of the soldiers were drowned. Chapter 20.
The death of Brigadier Adrian Hope of the 93rd Highlanders at Ruiya in India in 1858 almost triggered a mutiny amongst the Highland troops he commanded. Chapter 21.
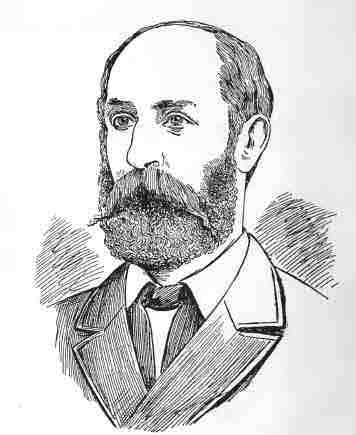
Major General Sir George Colley, who was blamed for the debacle involving the Gordon Highlanders at Majuba Hill in 1881. Chapter 22

British troops on the summit of Majuba Hill. Chapter 22
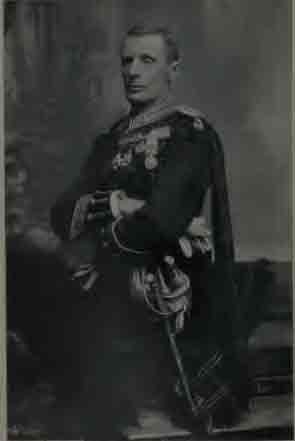
Major General Andy Wauchope who led the Highland Brigade to Disaster at Magersfontein in
South Africa in 1899. Chapter 23
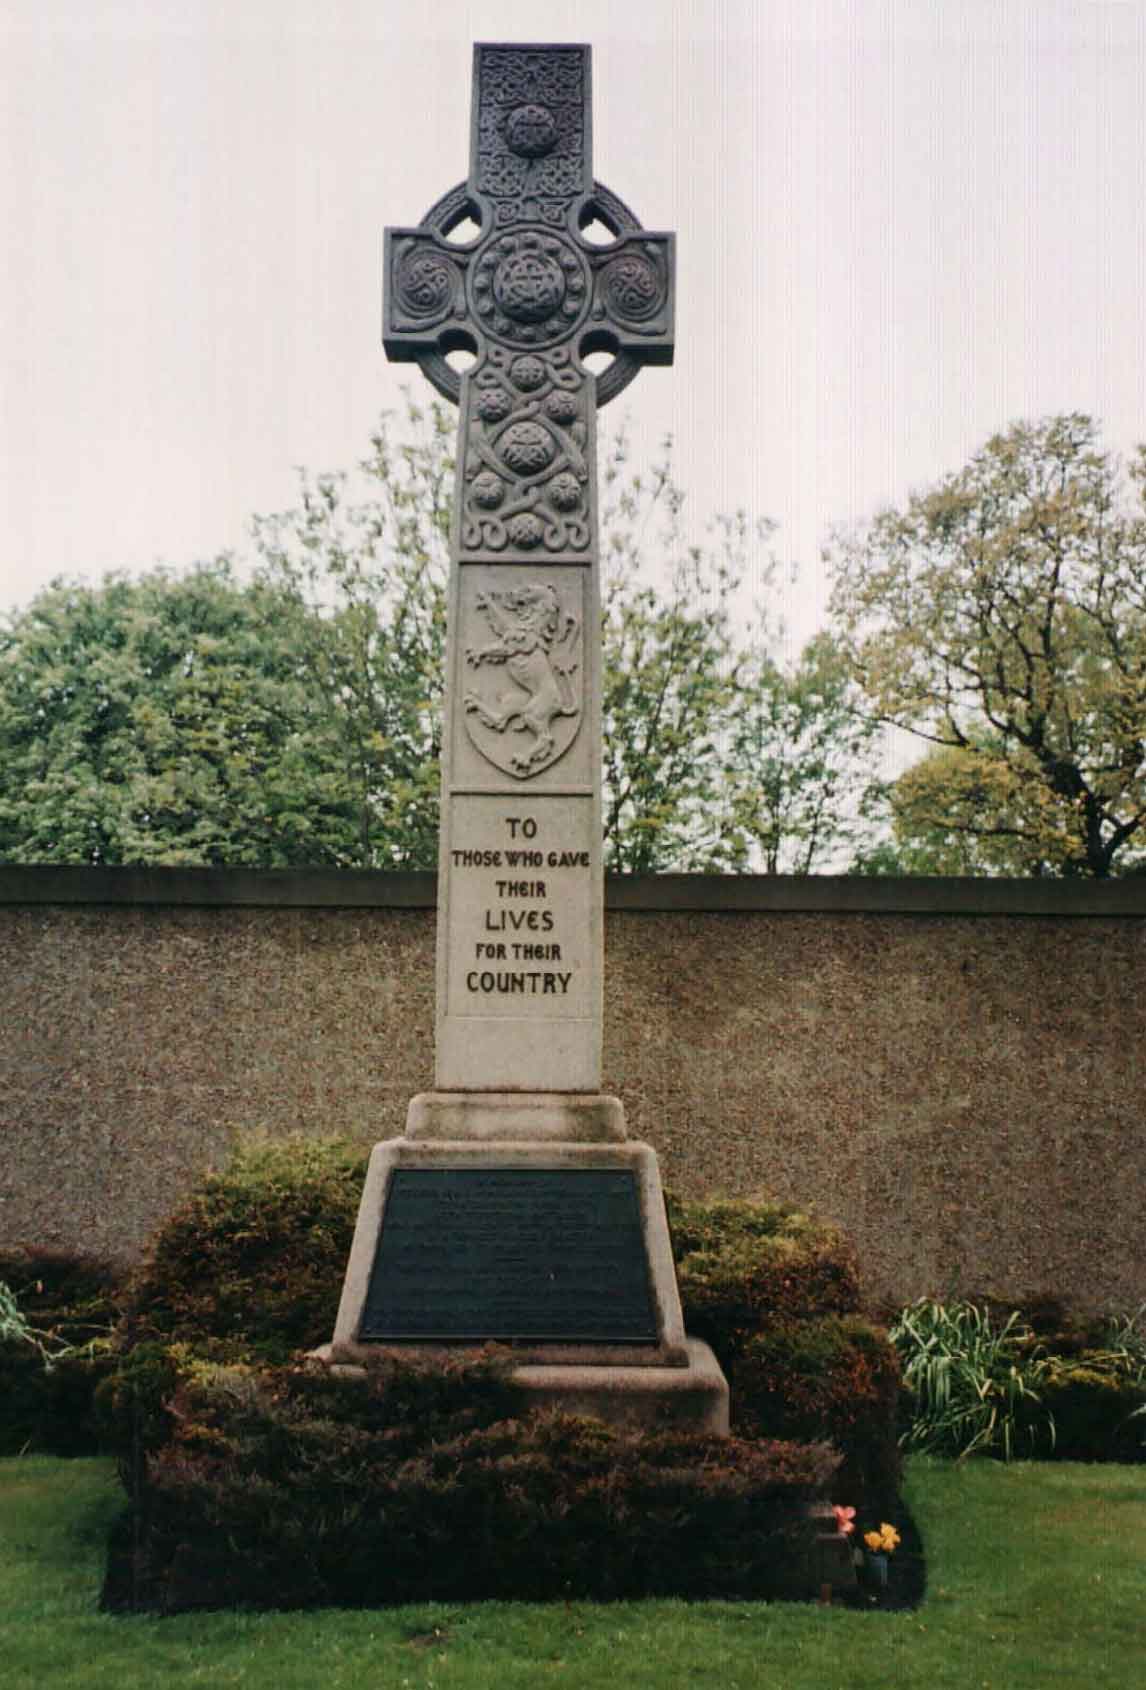
A memorial in Edinburgh's Rosebank Cemetry to the men of the 7th Royal Scots who died in the 1915 in the Quintshill Rail Disaster near Gretna. Chapter 26.
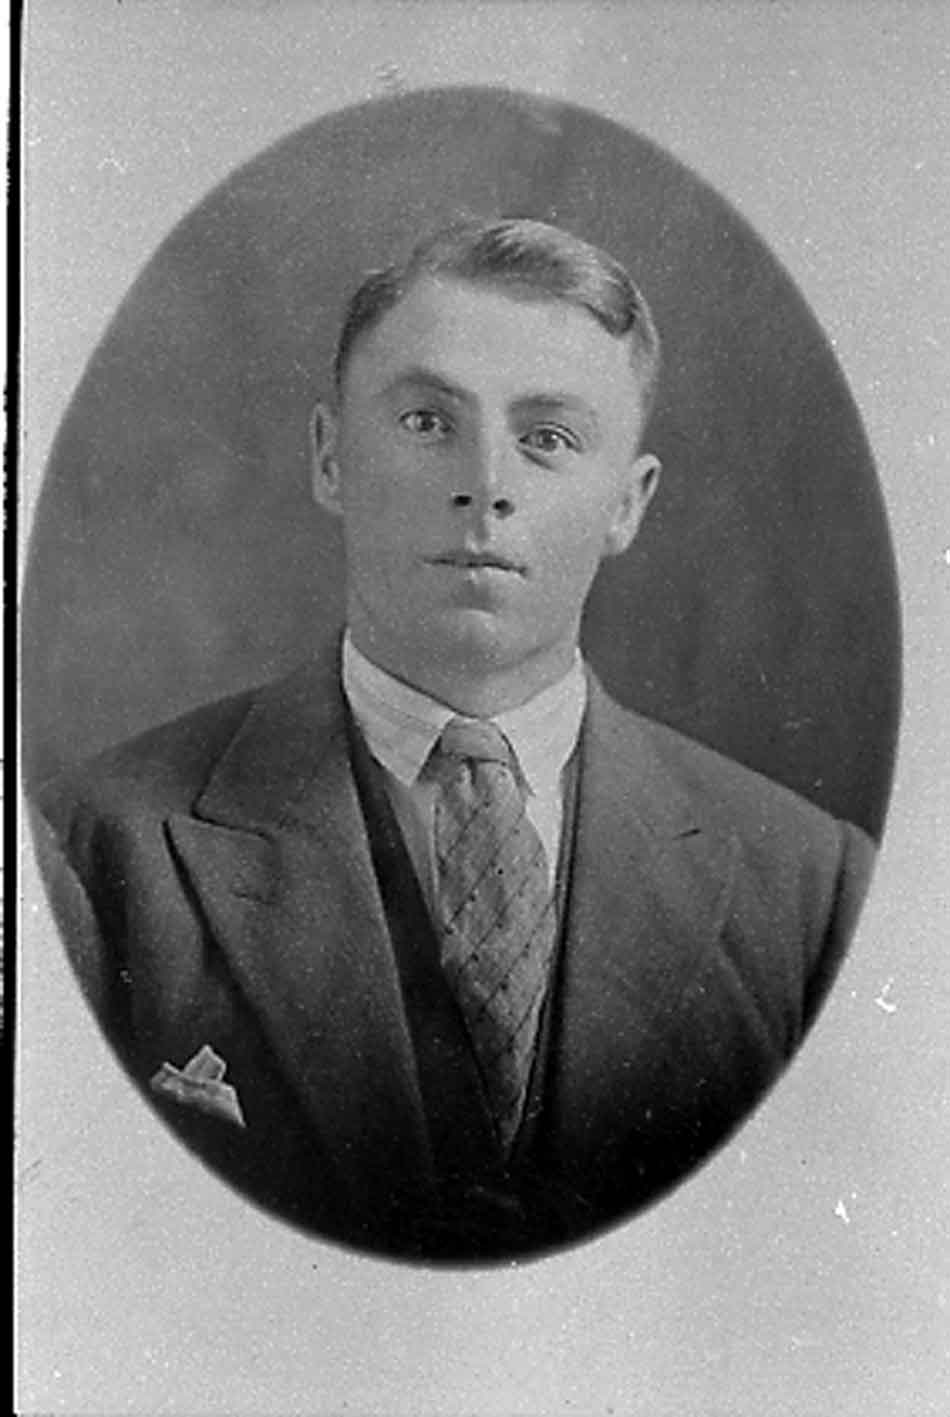
Many of those who survived the Gretna train crash were die at the Battle of Gully Ravine on the Gallipoli peninsula a few weeks later. The battle also claimed the life of Private 276 Robert Cowan of the 8th Scottish Rifles. He was my great-grandfather. Chapter 27.
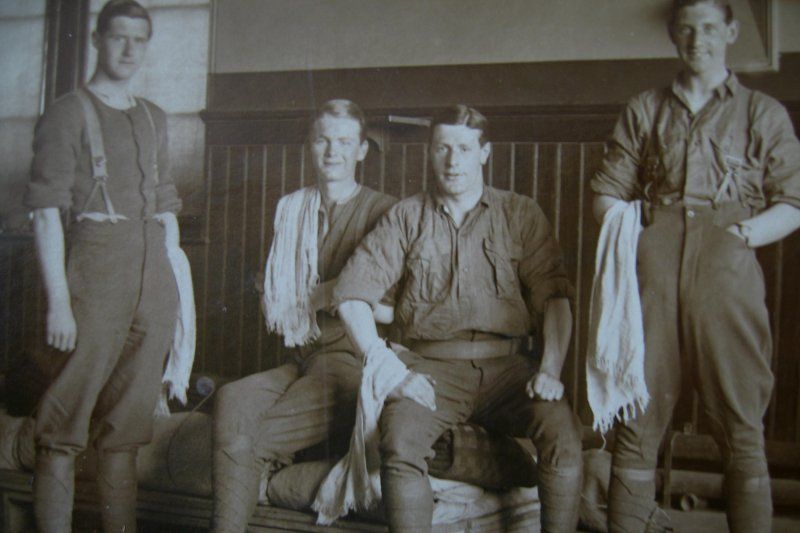
All four men in this photo are also believed to have died at Gully Ravine. It is thought to have been taken in Grangemouth in May 1915 and may show the platoon commanders from B Company of the 7th Scottish Rifles. The young seated lad with the towel over his shoulder is Lieutenant Daniel Taylor from B Company. That would make the others Lieutenants Duff, Brown and Maclay. This photo was supplied courtesy of Taylor's great nephew Alistair Cuthbert.